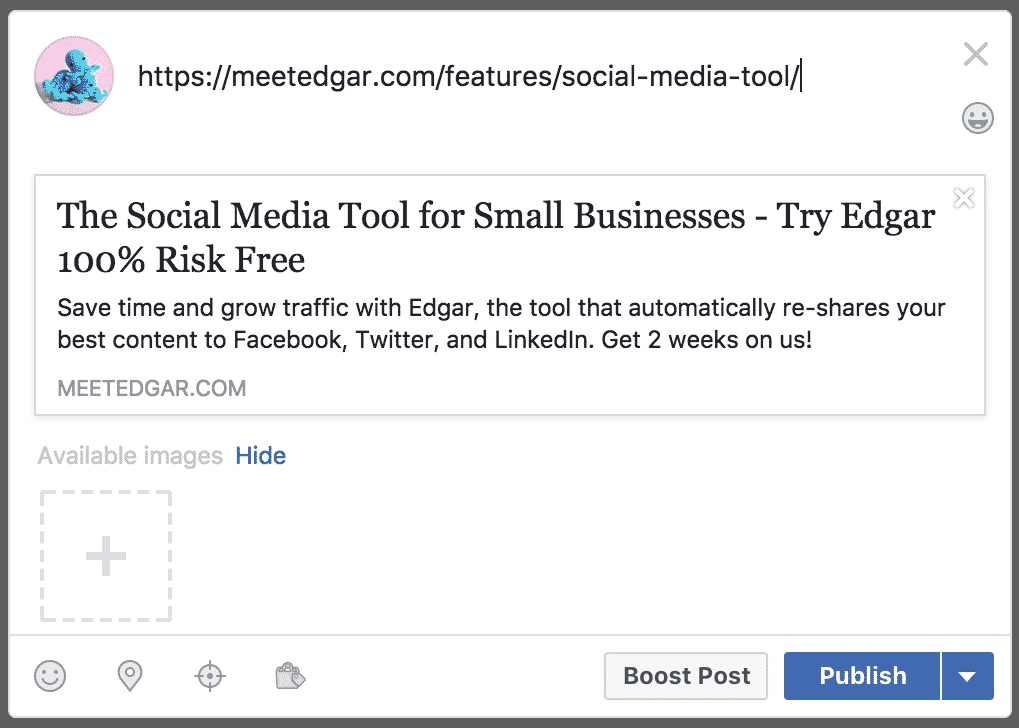
Don’t you hate it when you try to post a link in a Facebook post, and the image in the preview ends up looking like this:
B-o-o-o-o-ring.
Where’s the image, right?
It’s supposed to be there automatically!
This all comes down to metadata.
Which, admittedly, doesn’t sound like a very exciting topic.
It affects everyone, though – including you!
Think of metadata like your website’s DNA – coded information that determines how a network like Facebook sees the pages on your site. And just like DNA, if you change the information in that code, Facebook will see those pages in different ways!
If you want your Facebook links to look as good as possible, then you’ve gotta know how certain parts of your metadata work.
We’re gonna cut through all the technical details and give you the short version of what matters in your metadata, so you can make sure your Facebook link previews generate those beautiful images you’re looking for every time!
Which means the part of your website’s metadata that we’re focusing on is Open Graph meta tags.
(Not into coding? Don’t worry – we’ve got some easy plug-and-play shortcuts we’ll share, too.)
Here’s how it all works!
What are Open Graph meta tags, exactly?
By definition, Open Graph “enables any web page to become a rich object in a social graph.”
Which is really just a fancy way of saying it turns this…
…into this:
OG tags are what allow Facebook to take a boring ol’ URL and transform it into a beautiful link preview.
Link previews are more eye-catching and clickable than plain URLs – by giving your link an image, title, description, and more, you’re providing people with the contextual information that’ll make them want to click.
(Because these days, link trust is one of the most important factors when you’re trying to get traffic from social media.)
OG tags live in the code for every page and post on your website. Here’s what they look like for that update above (we highlighted the text that corresponds to different parts of the link preview):
In the past, this has been about as complicated as it got – but in 2017 and 2018, Facebook has made changes to how to share a link on Facebook, including how link previews and tags work.
(Long story short, it’s mostly related to fighting the spread of fake news – which is a pretty good priority, even when it makes things like this slightly more involved.)
Facebook wants to make sure that it only pulls the most accurate information when generating link previews and an image preview, which is why it generates the previews it displays in the News Feed using information it gathers from your site’s metadata.
In their own words:
“When content is shared for the first time, the Facebook crawler will scrape and cache the metadata from the URL shared. The crawler has to see an image at least once before it can be rendered. This means that the first person who shares a piece of content won’t see a rendered image.”
Translation: when you add a link in a Facebook post for the first time, Facebook hasn’t yet cached all the information it needs to generate a preview – therefore, Facebook can’t create the image preview you expect until someone shares your link a second time.
Fortunately, there are two ways you can get around that.
Here’s what you need to know:
How to share a link on Facebook
The first method is to add an additional piece of information to your OG tags: the height and width of the image preview you want in the link preview.
When you add og:image:width and og:image:height to your existing Open Graph tags, it gives Facebook just enough information to generate the image preview you want, even the very first time a link is shared.
Not into coding? Not a problem – there’s another option.
The second method for making sure your link previews work is to use Facebook’s Sharing Debugger.
The Facebook debugger is a very handy tool. When you plug a URL into this tool, it pre-loads all the information Facebook needs in order to generate a link preview in the future. Facebook stores that info, and then when you get around to actually sharing the link, they’re able to generate the preview – even the very first time you share it.
Here’s what that looks like in action.
Earlier in this post, we showed you an example of a Facebook update that couldn’t properly generate a link preview with an image:
The reason it didn’t generate an image preview is because that link had never been shared on Facebook before.
If we wanted, we could dive into that page’s metadata and add the og:image:width and og:image:height tags to our Open Graph tags.
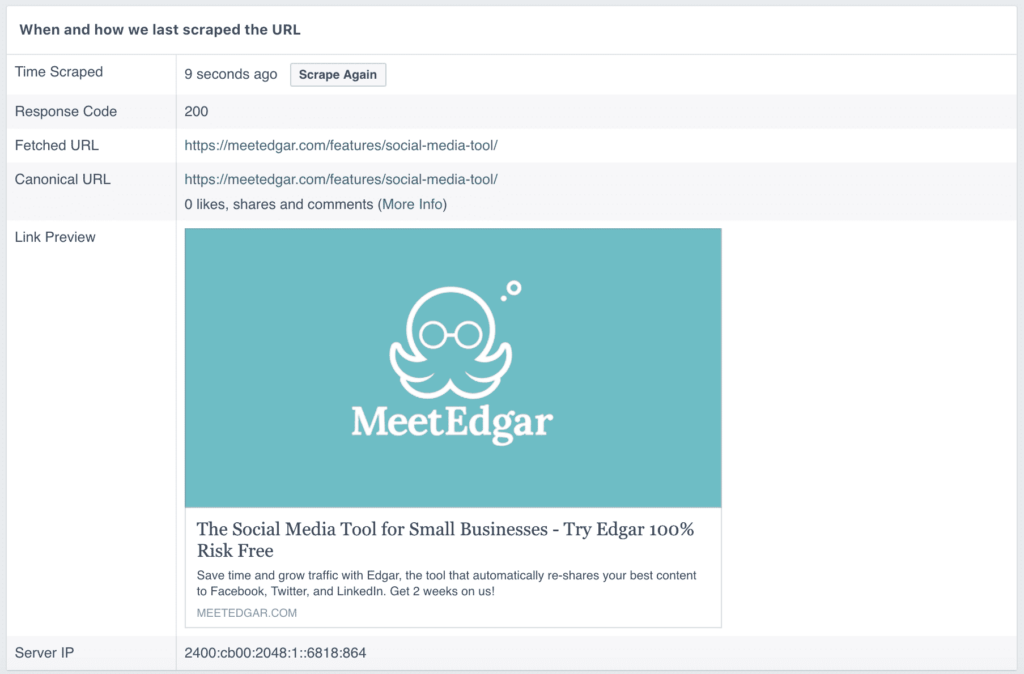
The simple alternative, though, is to use the Facebook debugger. Just pop the URL for that page into Facebook’s Sharing Debugger. When we do, Facebook shows us the link preview that they’re now able to generate:
And when we try to share that URL on Facebook again after using the Facebook debugger, we can see that they’re now able to generate a preview that includes an image:
Ta-daa!
So bada-bing, bada-boom – we have one little extra step to our social sharing workflow.
Now, whenever we publish a new blog post, we just plug the URL into Facebook’s Sharing Debugger as soon as it’s live, and we know that the link preview will generate an image preview without a hitch when anyone (including us!) shares that URL on Facebook.
(And if it means less fake news and inaccurate link previews in the News Feed, it’s a step we’re pretty glad to take.)
Now, let’s say you plug your link in the Facebook Debugger, but the image preview doesn’t look the way you want.
There’s a way to fix that, too!
Customizing your link previews with plugins
If you want to customize the different elements of your link previews, like the image or the meta description, you can do that by hand by editing your OG tags.
If the thought of going elbows-deep into your site’s metadata makes you feel squeamish, though, we’ll make one thing nice and clear:
You do NOT need to know how to code to customize your link previews.
You just need the right plugin!
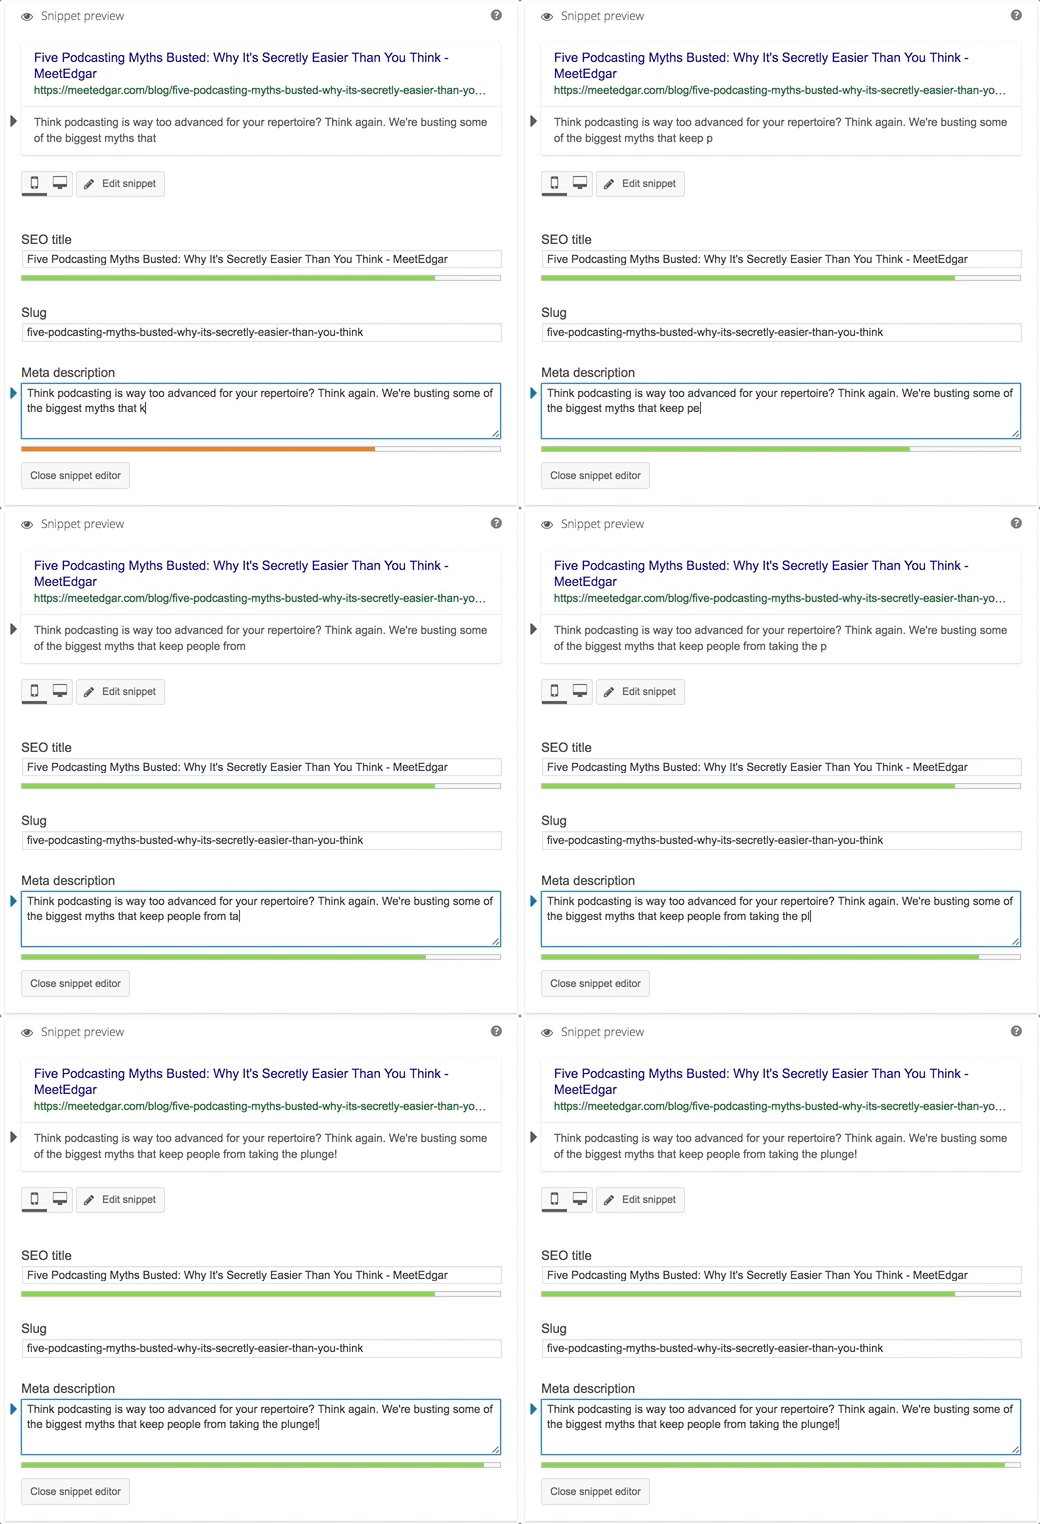
Adding a plugin to your WordPress site makes customizing this stuff ridiculously simple. Here at MeetEdgar, for example, we use the Yoast SEO plugin. It even gives you a little preview of what your text will look like!
Seriously – so much easier than dealing with metadata.
As for the image preview that shows up in your link preview, WordPress gives you the option to add a Featured Image to your post. The image you choose is the one that Facebook should pull for your link preview!
(Note: The location of the Featured Image you choose for a post depends on your blog’s layout. For example, when we choose a Featured Image, it appears in the header of that post. Here’s the post we’ve been using as an example if you want to see for yourself!)
Keeping up with Facebook’s changes
So there you have it – an easy-as-pie primer on Open Graph meta tags and how to get a link to a Facebook post.
Whether you use the sharing debugger or manually adjust the code when you you put a link in a Facebook post, it’s still pretty easy to point Facebook in the right direction regarding what you want, whether or not you have a ton of technical know-how – so make sure you’re adjusting your workflow accordingly!
The post Facebook’s Link Previews: What You Need to Know About Creating Your Own appeared first on MeetEdgar.


